
As I've been asked recently how I am painting my miniatures, I decided not to deny you the insight to my famous painting skills. Thus I'll provide some tutorials on different miniatures, showing some of the technique I am using as well as providing you with the intel which colours I am using.
What is really important in painting miniatures: use the best materials avaliable - your work gets much easier with this method. Everybody who has ever tried drilling a hole into a wall using a cheap electrical drill might know what I am talking about ;) Buying cheap always means buying twice.
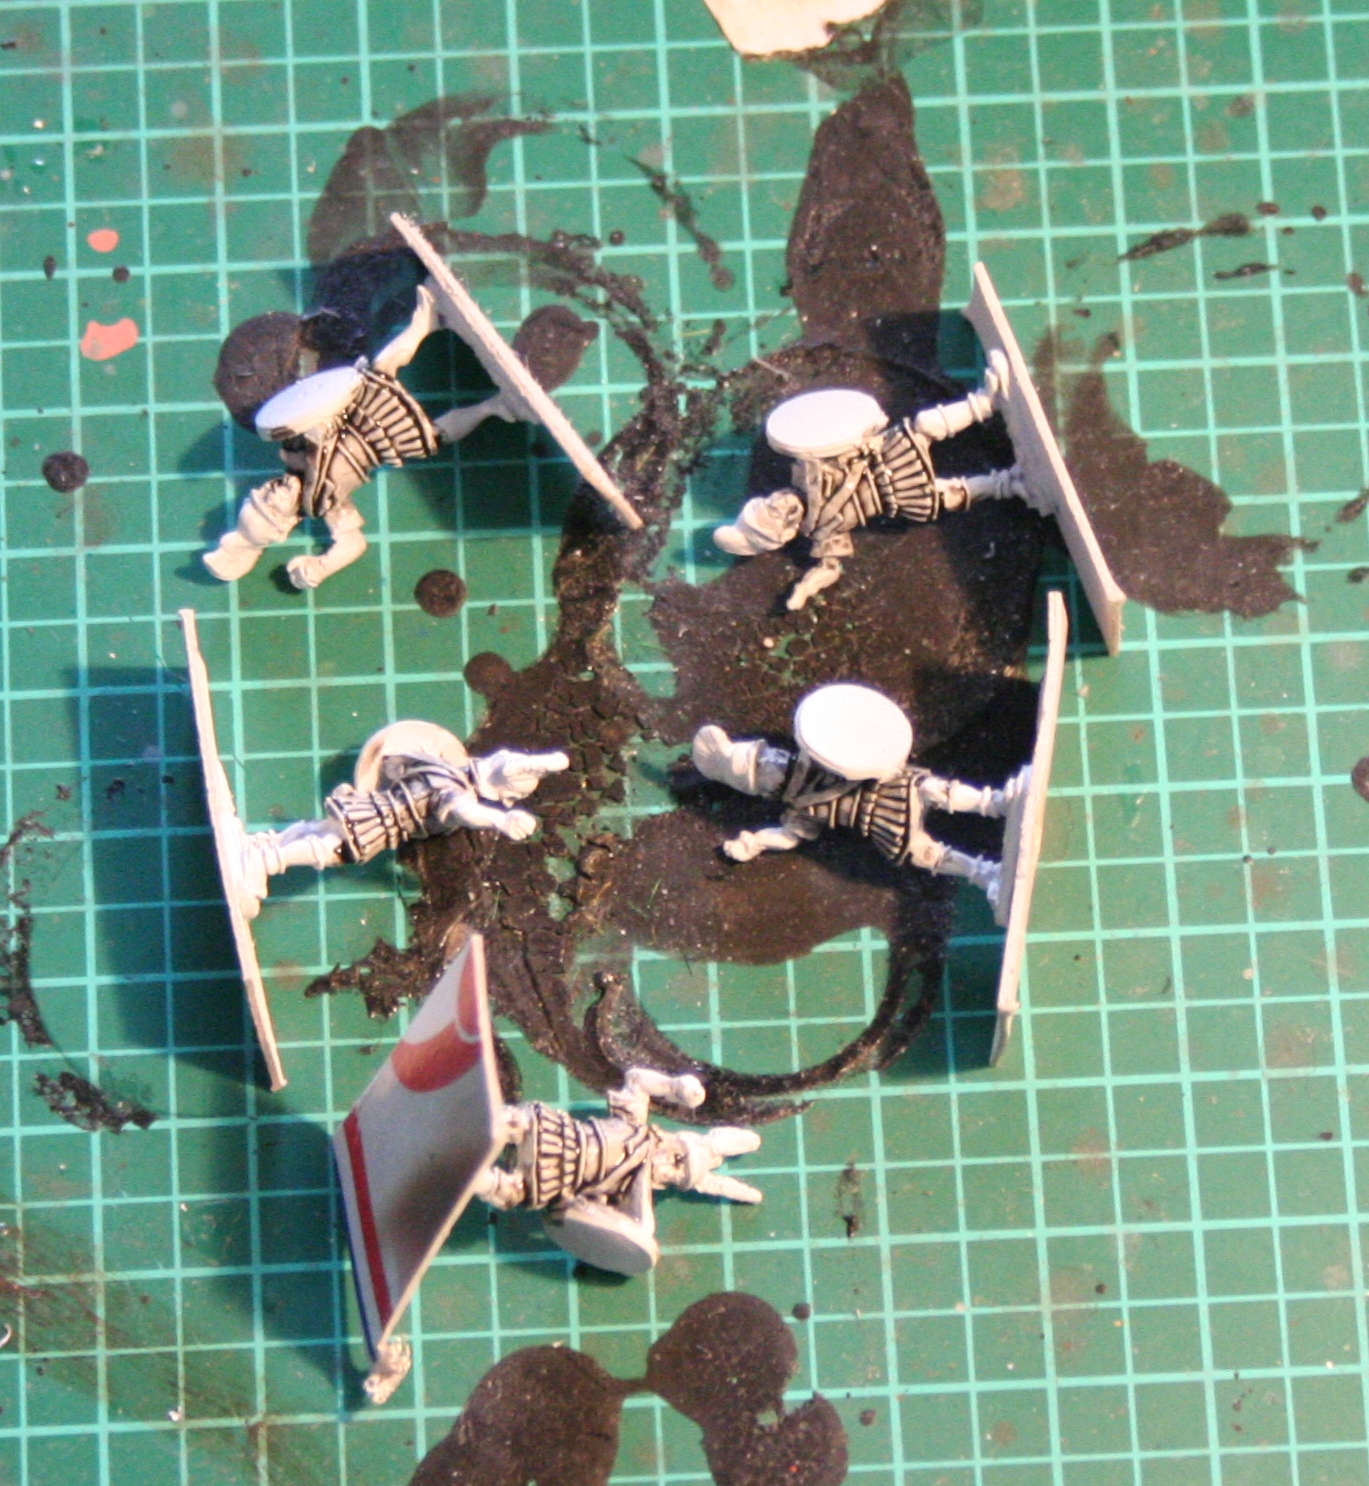
So let's get started with some of Xystons Phalanglites:
1. After priming them white I start with a black wash for the leather armour, which is supposed to be white - using black wash gives me the opportunity only to highlight the armour white afterwards, saving a lot of time compared to a "classical" 3 steps highlight approach.
 For the wash I used the Vallejo wash "lavado negro"
2. While the wash dries, I prime all the golden/brass metal to come in Vallejo MC 70.878 Old Gold

3. Afterwards, it's time to do the green tunics - I use Vallejo MC 70.980 Black Green. Take your time doing a tidy job where the green tuches the armour - everything else is optional, as there are other colours to come to hide little mistakes you make here.

4. Then I add red for the helemts and swords, and leather for the belts which connect shield and sword with the bearer. Colours used are Vallejo MC 70.814 Burnt Red and MC 70.984 Flat Brown. When painting the leather, take care to do a tidy work - you dont want the brown on the leather armour.

5. Now to my "secret" method of giving the gold a nice brass appearance: I use Vallejo MC 70939 Smoke, which I water down a little as an Ink for the golden metal parts.

6. And to end the first part of this tutorial,the flesh is painted in Vallejo GC 72.043 Beasty Brown. Here you are able to cover those little mistakes you might have done while applying the green basecoat.

So this is the final result of the first step - I applied all the basecoats, so I may continue with the highlights, which will be described in the next part.
What is really important in painting miniatures: use the best materials avaliable - your work gets much easier with this method. Everybody who has ever tried drilling a hole into a wall using a cheap electrical drill might know what I am talking about ;) Buying cheap always means buying twice.
So let's get started with some of Xystons Phalanglites:
1. After priming them white I start with a black wash for the leather armour, which is supposed to be white - using black wash gives me the opportunity only to highlight the armour white afterwards, saving a lot of time compared to a "classical" 3 steps highlight approach.
2. While the wash dries, I prime all the golden/brass metal to come in Vallejo MC 70.878 Old Gold

3. Afterwards, it's time to do the green tunics - I use Vallejo MC 70.980 Black Green. Take your time doing a tidy job where the green tuches the armour - everything else is optional, as there are other colours to come to hide little mistakes you make here.

4. Then I add red for the helemts and swords, and leather for the belts which connect shield and sword with the bearer. Colours used are Vallejo MC 70.814 Burnt Red and MC 70.984 Flat Brown. When painting the leather, take care to do a tidy work - you dont want the brown on the leather armour.

5. Now to my "secret" method of giving the gold a nice brass appearance: I use Vallejo MC 70939 Smoke, which I water down a little as an Ink for the golden metal parts.

6. And to end the first part of this tutorial,the flesh is painted in Vallejo GC 72.043 Beasty Brown. Here you are able to cover those little mistakes you might have done while applying the green basecoat.

So this is the final result of the first step - I applied all the basecoats, so I may continue with the highlights, which will be described in the next part.
Comments
Post a Comment